Do you dream of having a sun-kissed glow without the sun damage? You’re in luck! Self-tanners are the answer to achieving a natural-looking tan without exposing your skin to harmful UV rays. In this blog post, we’ll show you how to apply self-tanner, guiding you through the process of selecting, applying, and maintaining the perfect self-tan. Ready to glow? Let’s dive in!
Table of Contents
Understanding Self-Tanner Formulas
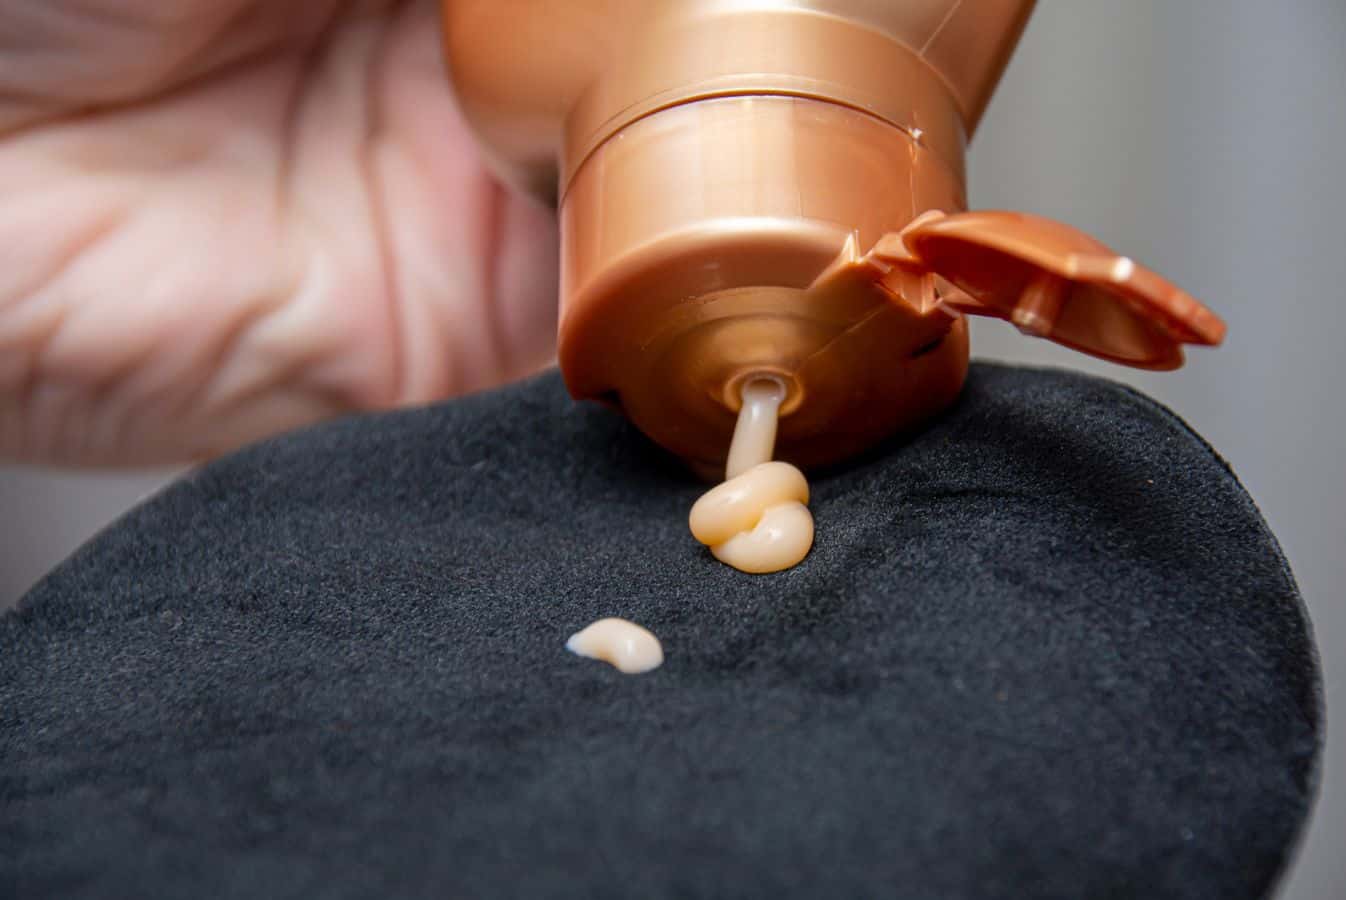
Achieving that flawless tan starts with understanding the various self-tanner formulas available, including tanning mousse. From mousses and sprays to lotions and oils, the options are endless. But how do these formulas work their magic? The powerful active ingredient in self-tanners is dihydroxyacetone (DHA), which interacts with dead skin cells on the skin surface to produce a beautiful, sun-kissed look.
Each self-tanner formula has its benefits and drawbacks. Here are some examples:
Tinted lotions: allow you to see where you’re applying the product but can cause discoloration on light-colored clothing.
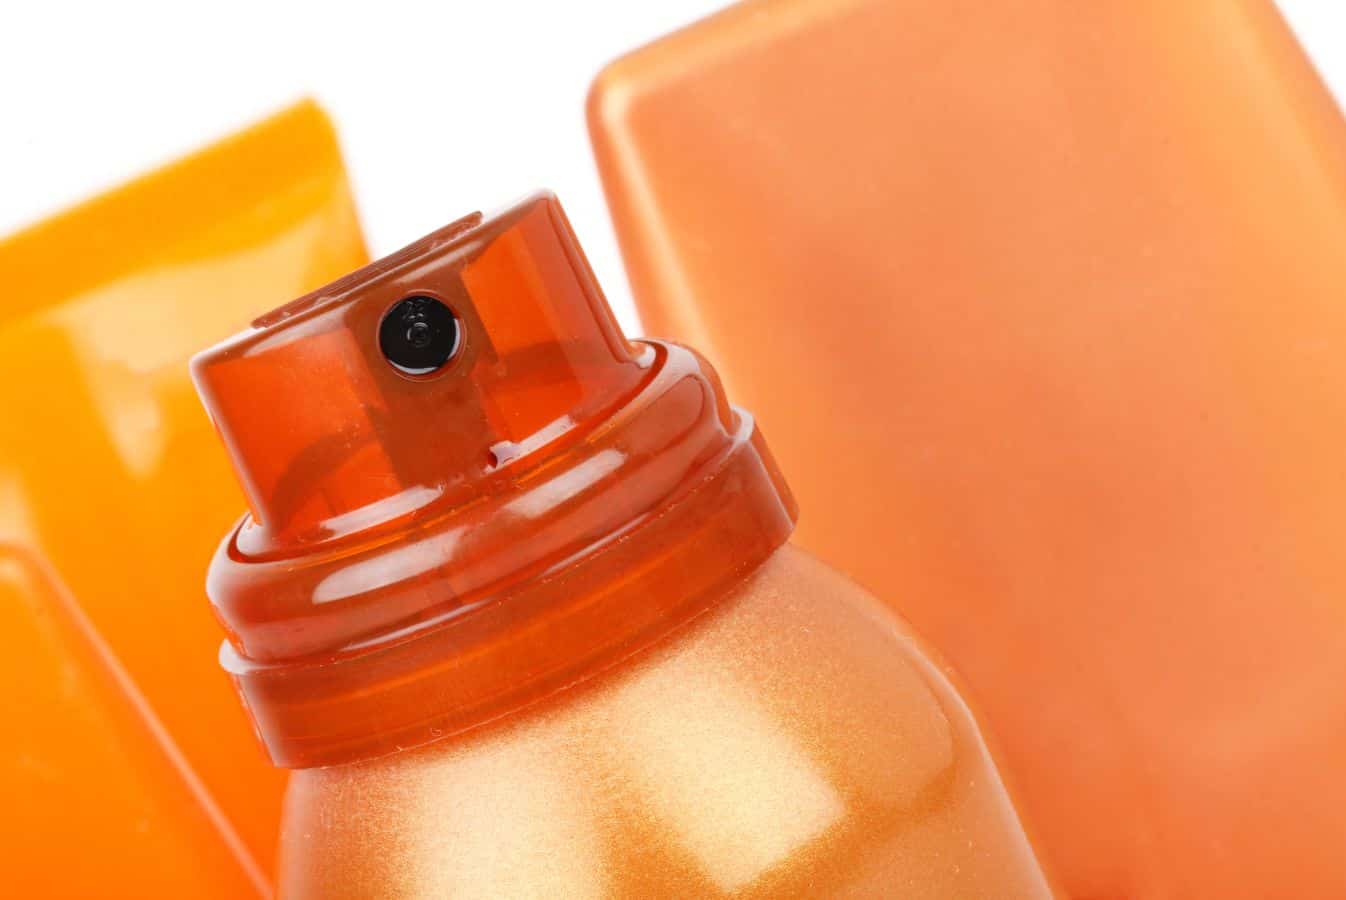
Self-tanning oils: offer a natural-looking tan and hydration, with anti-aging benefits as a bonus.
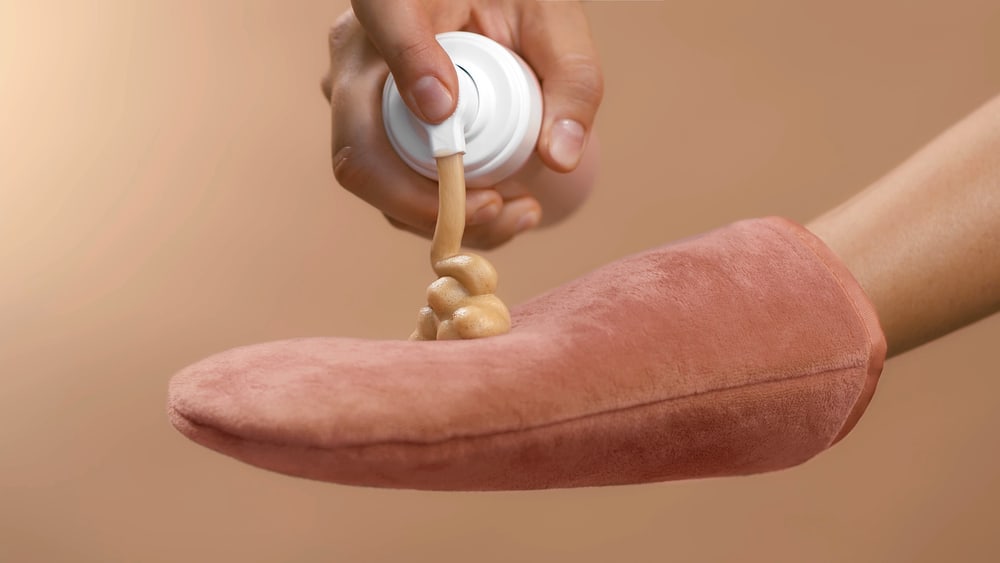
Mousse: a popular choice for many, offers a rich, instant color that’s easy to blend but may create streaks without a mitt.
To achieve a natural-looking glow, it’s essential to start with a small amount of self-tanner and gradually build up the color. You could also try using a gradual tanning product to help you achieve the perfect tan without overdoing it. Remember, practice makes perfect, and soon you’ll be a self-tanning pro!
Preparing Your Skin for Self-Tanning
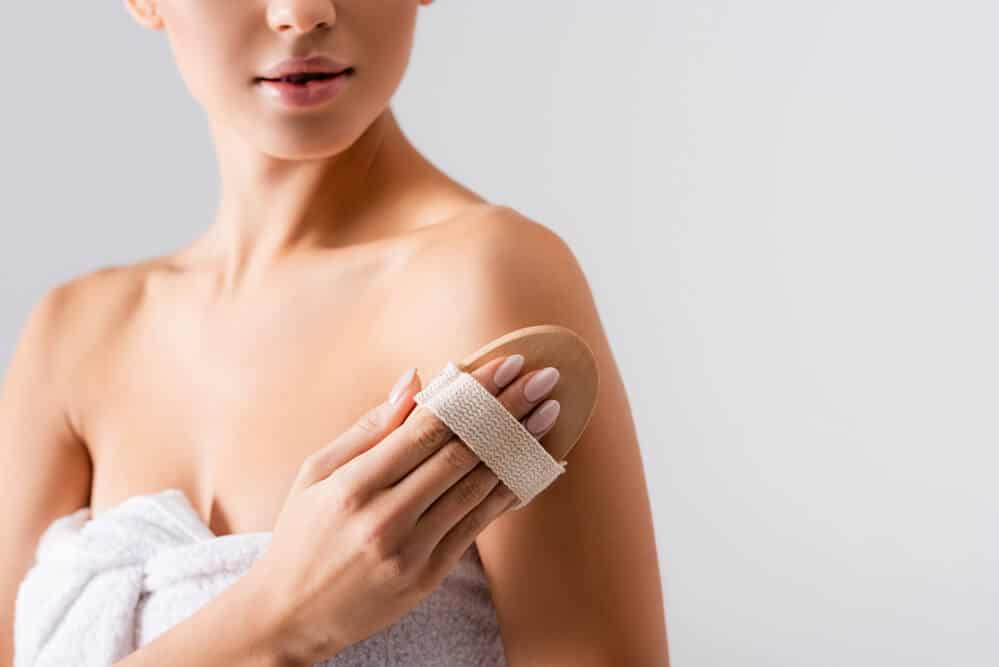
Before applying self-tanner, it’s crucial to prepare your skin for the best results. Start by exfoliating your skin, paying special attention to areas like elbows, knees, and ankles. Exfoliating removes dead skin cells, allowing for a smoother, even-toned tan. You can use a physical exfoliator like activated charcoal powder or chemical exfoliators like salicylic and lactic acid for the best results.
Next, shave or wax any areas with thick hair. Be sure to wait a full 24 hours after waxing or hair-removal treatments before applying self-tanner. This ensures a flawless, even application and helps prevent irritation.
Lastly, moisturize your dry areas like:
elbows
knees
hands
feet
Before applying the self-tanner, it’s essential to understand how self-tanners work. This extra step will help you achieve a seamless, natural-looking glow without any patchiness or streaking.
Choosing the Right Self-Tanner for Your Skin Tone and Type
When it comes to selecting the right self-tanner, consider your skin tone and type. There’s a wide range of self-tanning products available, including:
lotions
sprays
mousses
towelettes
While skin tone and type are important factors, the quantity of self-tanner you use plays a more significant role in achieving the desired results.
For a subtle glow, try using a self-tanner that is one shade darker than your natural skin tone. This will help you achieve a slightly darker complexion without looking unnatural. Alternatively, if you want to brighten up dark spots, use a self-tanner that is one shade lighter than your natural skin tone. Remember, you can always build up the color by applying more self-tanner gradually.
The Art of Applying Self-Tanner
Now that your skin is prepped and you’ve chosen the right self-tanner, it’s time to master the application process. Here’s how:
Start by using a tanning mitt.
Apply the self-tanner in circular motions for a smooth, even application.
Begin at your feet and work your way up, ensuring that you cover all areas evenly.
This method helps prevent any streaking or patchiness in your faux tan.
For hard-to-reach areas like your hands, a makeup brush, such as a Kabuki brush, is your best bet for a flawless tan. Here’s how to use it:
Apply a small amount of self-tanner to the brush.
Gently sweep the brush across your hands, fingers, and knuckles, ensuring even coverage and avoiding orange palms.
Don’t forget to wash your hands thoroughly after applying self-tanner to prevent any unwanted color.
When applying self-tanner to your face, follow these steps:
Gently rub in a small amount with your hands, being careful not to get it in your eyes.
Make sure to cover all areas, including around your nose and lips and into your hairline, for a natural-looking, even tan.
Self-tanning your face should ideally be done in the evening. This will give the self-tanner enough time to fully develop overnight.
Mastering the Application on Face, Hands, and Feet
Achieving a seamless and natural-looking natural tan on your face, hands, and feet can be challenging but not impossible. For your face, use a small amount of self-tanner and gently rub it in with your hands, covering all areas for an even tan. Remember to be cautious around your eyes and avoid getting the product in them.
For your hands, a Kabuki brush is the perfect tool to ensure a flawless tan. Here’s how to use it:
Apply a small amount of self-tanner to the brush.
Gently sweep the brush across your hands, fingers, and knuckles.
Be sure to wash your hands thoroughly afterward to avoid orange palms.
When it comes to your feet, less is more. Use the remaining product on the mitt to give your feet the perfect sun-kissed look. This will help prevent a too-dark or unnatural appearance and ensure your faux tan looks seamless from head to toe.
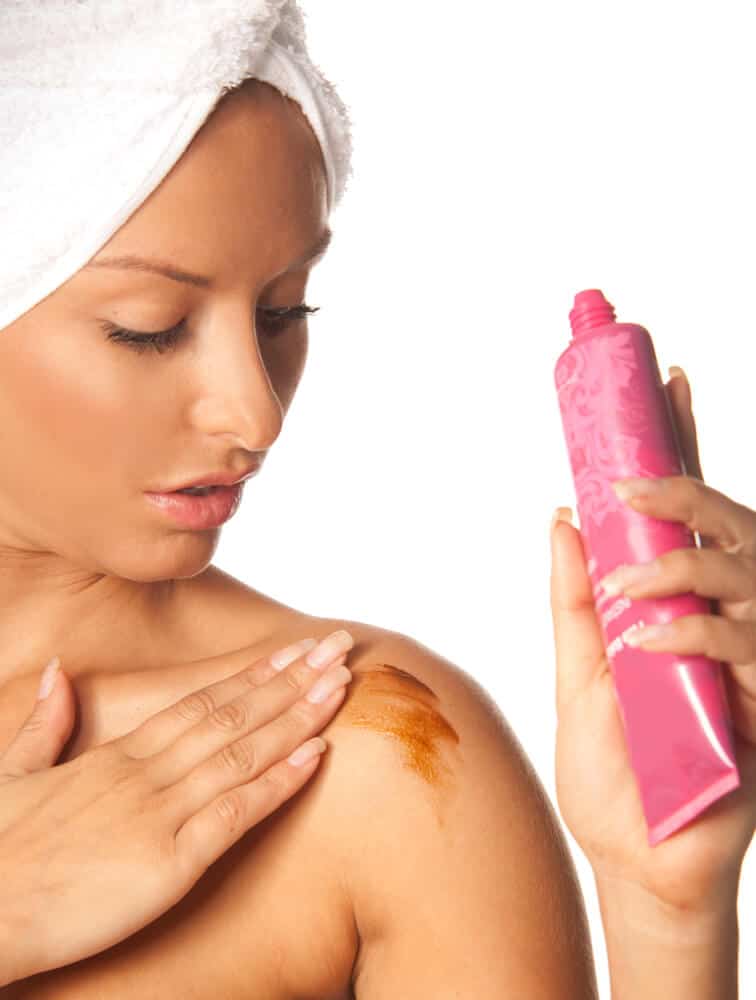
Tackling Hard-to-Reach Areas: Back and Shoulders
Applying self-tanner to hard-to-reach areas like your back and shoulders can be tricky, but with the right technique, you’ll achieve a flawless tan. Using a back applicator or asking for help are great ways to apply self-tanner on your back. Start at the center and move outwards with long vertical strokes for an even tan.
If you prefer an effortless and quick solution, consider using St. Tropez’s Purity Vitamins Body Mist for a beautiful, sun-kissed glow on your back. This mist is easy to use and covers all areas of your back for a stunning, natural-looking tan.
Aftercare and Maintenance
Proper aftercare and maintenance are essential for prolonging the life of your self-tan. After applying the self-tanner, wait around 20 minutes before showering to allow the product to fully absorb into your skin. Wear loose clothing to avoid rubbing off the self-tan and disrupting its development.
Moisturize your skin daily to maintain the tan’s appearance and keep it looking fresh for as long as possible. This not only helps your faux tan last longer, but also keeps your skin hydrated and healthy.
Additionally, consider using a tan extender or a depilatory cream instead of shaving to prolong the life of your faux tan. This will help prevent the tan from fading unevenly and ensure it stays looking its best for longer.
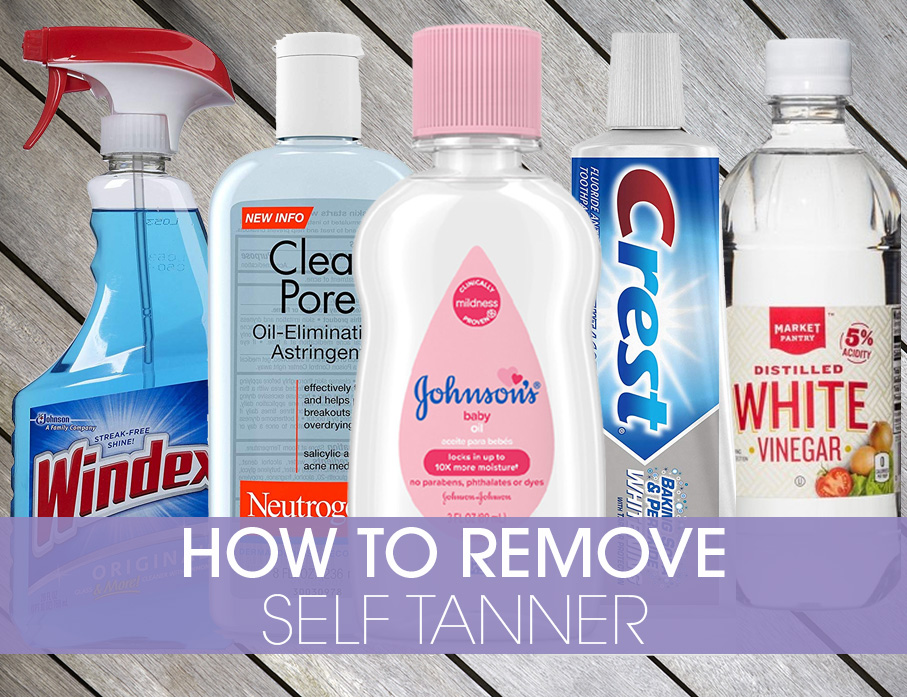
Fixing Common Self-Tanning Mistakes
Mistakes happen, but don’t worry, they can be fixed. If you notice any streaks or patches, apply an additional light layer of self-tanner mixed with lotion to even out the color. If you have hand or foot stains, use a foot file or nail buffer to smooth out the color.
For larger areas with uneven color, buff your skin with an exfoliation mitt or use a dry towel to buff off any excess tan. If you still have imperfections, consider using an instant bronzer to conceal any uneven areas and achieve a flawless tan.
Remember, practice makes perfect, and the more you apply self-tanner, the better you’ll become at avoiding common mistakes and achieving a beautiful, natural-looking glow.
Sun Protection and Faux Tans
It’s important to remember that self-tanners do not provide any SPF protection, so it’s essential to incorporate sun protection into your routine when using self-tanners. Applying sunscreen daily, even when you have a faux tan, is crucial for maintaining healthy skin and protecting against skin damage and cancer.
For a perfect faux tan, we recommend using a tanning lotion like Coola Classic Body Organic Sunscreen Lotion SPF 50. This non-greasy, non-chalky sunscreen feels like a light body lotion while providing powerful protection against UVA and UVB rays. Pairing this sunscreen with your self-tanner will ensure your skin stays healthy, protected, and beautifully bronzed.
Summary
Achieving the perfect glow with self-tanners may seem daunting, but with the right knowledge, tools, and techniques, anyone can master the art of self-tanning. From understanding different formulas to applying and maintaining your faux tan, this guide has provided you with the expert tips needed to get that sun-kissed look without the sun damage. Now it’s time to put your newfound skills to the test and embrace your radiant, golden glow!
Frequently Asked Questions
How do you apply self-tanner perfectly?
To apply self-tanner perfectly, start by exfoliating and moisturizing your skin. Then use a mitt to apply your tanning product in long strokes and blend at wrists and ankles.
Lastly, dilute the product over your joints and give your skin some time to dry before applying sunscreen each day.
Do you put self-tanner on wet or dry skin?
For best results when applying self-tanner, make sure your skin is clean, dry and exfoliated. Water left on the skin can lead to streaks and patches, so it’s important that your skin is completely dry before you apply your faux tanner.
Add a little moisture back into your skin before applying the self-tanner for optimal results.
How do you use self-tanner without a mitt?
For a mitt-free tanning experience, you can opt for a thicker sock or even a slipper sock to apply your self-tanner. The thickness will give you a natural and healthy glow.
Using a sock or slipper sock to apply your self-tanner is a great way to get a mitt-free tanning experience. The thickness of the socks will help you achieve a natural and healthy glow.
How long after applying self-tanner can I sit down?
Wait at least an hour or two after applying self-tanner before putting on clothes or sitting down to ensure the product has time to set.
What is the best way to apply fake tan?
For the best results, exfoliate your skin before applying fake tan in sections and make sure to blend at wrists and ankles.
Also, don’t forget to dilute over your joints and wash your hands after each section before allowing your skin to dry.
Finally, apply sunscreen every day to complete the look.